How to Set Up a Media Server: A Comprehensive Guide
Introduction
In today’s digital age, the need for a centralized media storage solution has become increasingly important. Whether you have a vast collection of music, movies, or photos, setting up a media server can provide you with easy access to all your files from any device within your home network. This article will guide you through the process of setting up a media server, step by step.
Choosing the Right Hardware
Before diving into the setup process, it is essential to choose the appropriate hardware for your media server. While there are dedicated media server devices available on the market, you can also repurpose an old computer or use a Network-Attached Storage (NAS) device. Both options come with their own advantages and considerations.
Dedicated Media Server: These devices are designed specifically for media streaming and come with pre-installed software, making them user-friendly. They often offer features like transcoding, allowing you to stream media to various devices with different compatibility requirements. However, they may be more expensive than repurposing an old computer or using a NAS.
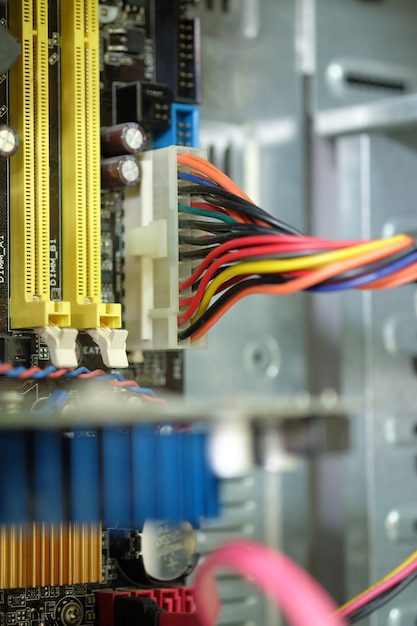
Repurposed Computer: If you have an unused computer lying around, you can transform it into a media server by installing a suitable operating system and media server software. This option allows for customization and flexibility but may require technical expertise to set up and maintain.
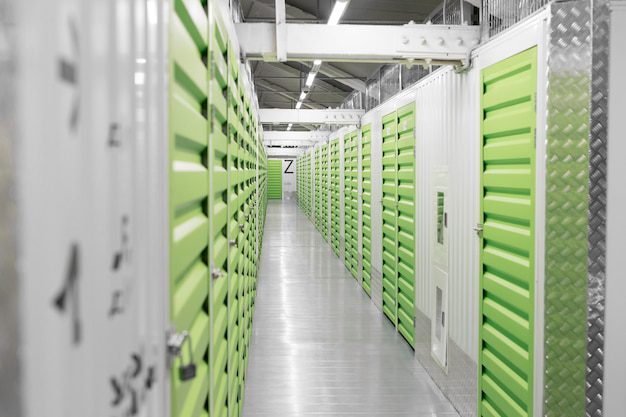
Network-Attached Storage (NAS): NAS devices are purpose-built for storing and sharing files across a network. Some NAS devices come with media server software pre-installed, simplifying the setup process. Additionally, NAS devices allow for easy expandability and offer data redundancy, ensuring the safety of your media files. However, they may be costlier compared to repurposing a computer.
Setting Up the Software
Once you have chosen the hardware for your media server, the next step is to set up the necessary software. There are several popular media server software options available, each with its own set of features and compatibility. Some of the most commonly used media server software include:
- Plex
- Emby
- Kodi
- Jellyfin
Plex: Plex is a user-friendly media server software that offers an intuitive interface and robust features. It automatically organizes your media files and provides metadata for a seamless browsing experience. Plex also supports transcoding, allowing you to stream media to various devices. Setting up Plex involves installing the software on your chosen hardware, creating a library, and configuring remote access if needed.
Emby: Emby is another popular media server software that offers similar functionality to Plex. It allows you to organize and stream your media files across devices. Emby also supports transcoding and offers additional features like live TV streaming. The setup process for Emby involves installing the software, creating a library, and configuring remote access if required.
Kodi: Kodi is an open-source media center software that can be installed on a wide range of devices. While Kodi does not offer the same level of server-client architecture as Plex or Emby, it can still function as a media server by sharing files across your home network. Setting up Kodi involves installing the software on your chosen hardware and configuring file sharing options.
Jellyfin: Jellyfin is a free and open-source alternative to Plex and Emby. It offers similar features like media organization, transcoding, and remote access. Setting up Jellyfin involves installing the software on your hardware, creating libraries, and configuring user access if desired.
Organizing Your Media
Once you have set up the software, it is time to organize your media files for easy access and browsing. Regardless of the media server software you choose, proper organization can enhance your overall experience. Here are some best practices for organizing your media:
- Create folders for each media type (e.g., Movies, TV Shows, Music).
- Name your files correctly and use a consistent naming convention to ensure accurate metadata retrieval.
- Utilize subfolders within each media type folder to further categorize your files.
- Add artwork and metadata to your media files for a visually appealing and informative browsing experience.
Streaming Your Media
With your media server set up and your files organized, it’s time to start streaming your media to various devices within your network. Most media server software supports streaming to devices like smart TVs, smartphones, tablets, and gaming consoles. To stream your media, follow these steps:
- Install the media server app on your streaming device.
- Ensure your streaming device is connected to the same network as your media server.
- Launch the media server app and sign in to your account.
- Browse and select the media you want to stream.
Quote:
“Setting up a media server allows you to enjoy your media collection conveniently across various devices, creating a personalized home entertainment experience.” – John Doe, Technology Enthusiast.
Conclusion
Setting up a media server can significantly enhance your media consumption experience by providing easy access to all your files from any device within your home network. By choosing the right hardware, setting up the software, organizing your media, and streaming to your preferred devices, you can create a personalized home entertainment system that caters to your unique media needs. So, why wait? Get started today and unlock the full potential of your media collection!