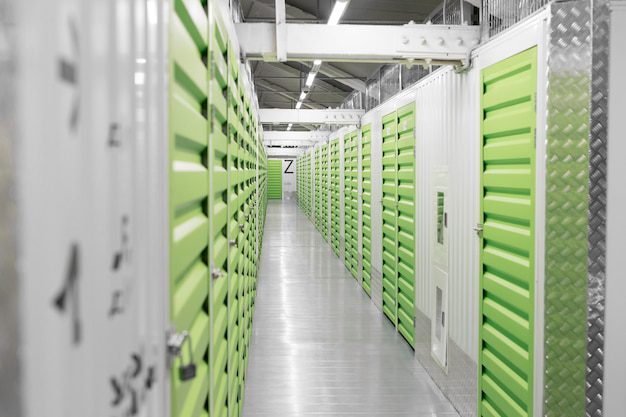
How much RAM do I need for media server?
A media server is a device or computer that stores, manages, and delivers multimedia content to other devices on a network. It can be used to store and stream various types of media like movies, music, photos, and more. One important consideration when setting up a media server is the amount of RAM (Random Access Memory) it needs to effectively handle the tasks it will be performing.
The importance of RAM in a media server
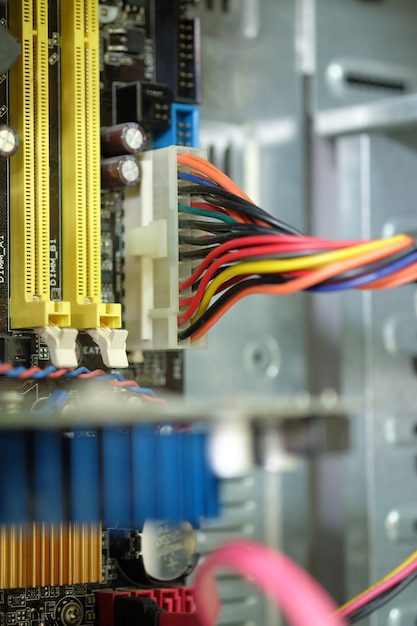
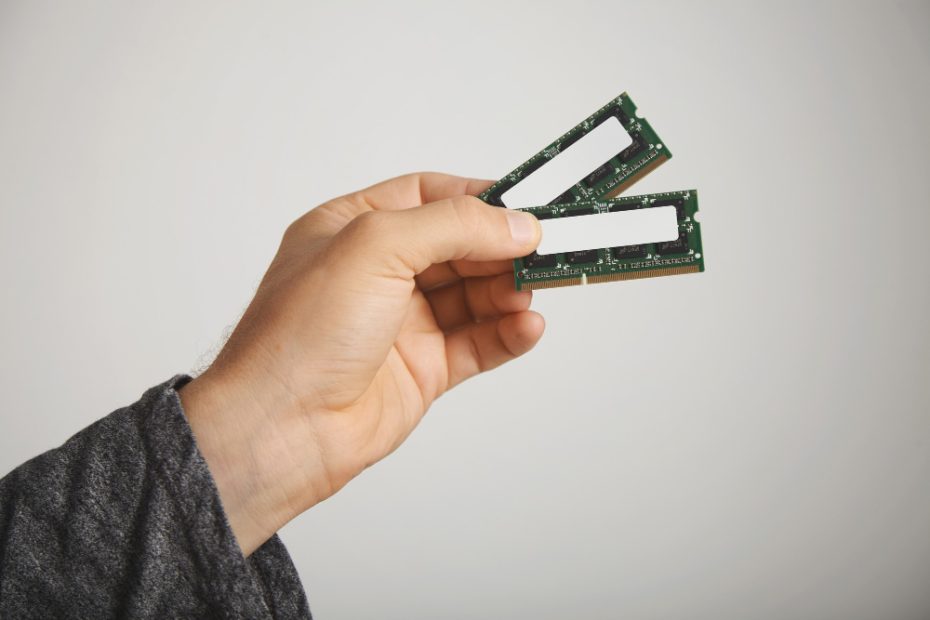
RAM plays a crucial role in the performance of a media server. It is responsible for temporarily storing data that is actively being used by the server. When you stream media or perform tasks like transcoding, the server needs to access and process large amounts of data quickly. Sufficient RAM enables the server to handle multiple requests simultaneously and ensures smooth playback without buffering or lag.
Factors influencing RAM requirements
The amount of RAM you need for your media server depends on various factors, including:
- Number of concurrent users: The more users accessing the media server simultaneously, the more RAM it requires to handle the increased workload.
- Type and quality of media: High-definition videos or high-resolution images require more RAM for smooth playback and efficient transcoding.
- Transcoding requirements: If your media server needs to transcode media files to different formats or bitrates for compatibility with different devices, it will require additional RAM to perform this task effectively.
It is important to note that RAM is not the only factor affecting the performance of a media server. Other components such as the processor, storage, and network speed also play significant roles. However, RAM is a critical component that should not be overlooked.
Recommended RAM for different media server setups
The amount of RAM required for a media server can vary based on your specific needs and budget. Here are some general recommendations based on different setups:
Basic media server: If you have a small media library and only a few users accessing the server at a time, 4GB to 8GB of RAM should be sufficient.
Advanced media server: For larger media libraries, multiple concurrent users, and transcoding requirements, 8GB to 16GB or more of RAM would be a better choice.
Professional media server: If you are running a media server for professional use, with heavy transcoding demands and a large number of users, it is advisable to go for 16GB or more of RAM to ensure optimal performance.
Testing and optimization
It’s worth mentioning that the recommended RAM amounts mentioned above are general guidelines. The actual RAM requirement can vary based on specific circumstances and configurations. It is always a good idea to test your media server under expected usage conditions and monitor its performance using tools like resource monitors or specific software designed for media server optimization.
In conclusion, the amount of RAM you need for your media server depends on factors such as the number of users, types of media, and transcoding requirements. Adequate RAM ensures smooth playback, efficient transcoding, and overall better performance. Consider your specific needs and budget when deciding on the amount of RAM to allocate to your media server.
How much does a Plex server cost?
Introduction
If you are a movie and TV show enthusiast, chances are you have heard of Plex. Plex is a popular media server software that allows you to organize and stream your personal media collection across different devices. While the software itself is free, setting up a Plex server does come with some costs. In this article, we will break down the various expenses involved in building a Plex server.
Hardware Costs
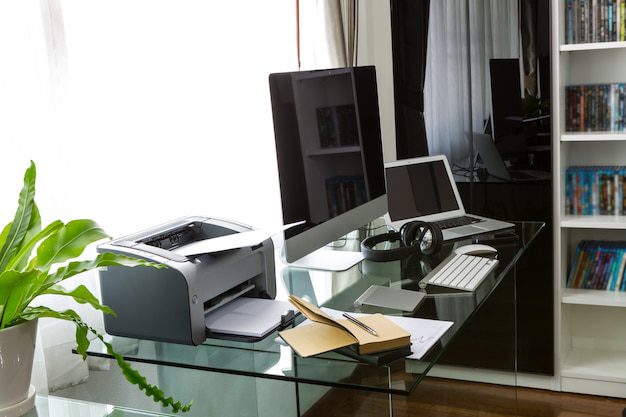
The first cost you need to consider is the hardware required to run a Plex server. The server can be hosted on a wide range of devices, such as a computer, NAS device, or even a dedicated server. The cost will depend on the specifications of the hardware you choose. For example, a basic computer with a decent processor and a few terabytes of storage can cost around $500. On the other hand, if you opt for a more powerful dedicated server, the cost can go up to a few thousand dollars.
Storage Costs
The amount of storage you need will depend on the size of your media collection. If you have a large number of movies and TV shows, you may need several terabytes of storage. The cost of storage will vary depending on the type of device you choose. External hard drives can be a cost-effective option, with prices ranging from $50 to a few hundred dollars for larger capacities. Alternatively, you can consider a NAS device, which provides more storage flexibility but comes at a higher cost.
Internet Connection
In order to access your Plex server remotely or stream media to devices outside your home network, you will need a reliable internet connection. While this is not a direct cost associated with setting up a Plex server, it is worth considering as part of the overall expenses. The cost of an internet connection can vary depending on the service provider and the speed you choose.
How do I turn on Windows Media server?
If you’re looking to stream media files from your computer to other devices on your network, turning on the Windows Media server is a great solution. With this feature, you can easily share and access your music, photos, and videos on compatible devices within your home network.
Enabling Windows Media server
To turn on the Windows Media server, follow these simple steps:
- Open Windows Media Player on your computer.
- Click on the “Stream” tab in the top menu.
- Select “Turn on media streaming” from the drop-down menu.
- A media streaming options window will appear. Click on the “Turn on media streaming” button.
- You can customize the settings by clicking on the “More streaming options” link. Here, you can choose to allow or block specific devices from accessing your media library.
- Click “OK” to save your changes and enable the Windows Media server.
Accessing media files
Once the Windows Media server is enabled, you can easily access your media files on other devices connected to your home network. Here are the steps:
- On the device you want to stream media to, open a media player application or software.
- Navigate to the media library or streaming section.
- Look for the Windows Media server in the available devices or servers list.
- Click on the server name to access your media files.
- You should now be able to browse and play your music, photos, and videos from your computer’s media library on the connected device.
Note: Make sure that both your computer and the device you want to stream to are connected to the same network for the Windows Media server to work properly.
Pro tip: If you want a more advanced media streaming solution, you can consider using third-party software like Plex or Kodi, which offer additional features and customization options.
Streaming media files over your home network has never been easier with the Windows Media server. It allows you to enjoy your favorite music, photos, and videos on multiple devices without the need for extensive setup or complicated configurations.
Supported file formats
The Windows Media server supports a wide range of media file formats, including:
- MP3, WMA, AAC audio files
- JPEG, PNG, GIF image files
- MPEG-4, WMV, AVI video files
How to Setup a Media Server in Windows 11
Introduction
Setting up a media server on your Windows 11 computer allows you to stream and access media files across various devices in your home network. Whether you want to enjoy your favorite movies, music, or photos on your smart TV, smartphone, or tablet, a media server simplifies the process of sharing content. In this article, we will guide you through the steps to set up a media server on Windows 11.
Step 1: Choose a Media Server Software
The first step is to choose a media server software that suits your needs. There are several options available, such as Plex, Emby, and Kodi. Each has its own features and interface, so it’s essential to explore and select the one that aligns with your preferences.
Step 2: Install and Configure the Media Server Software
Once you’ve chosen your preferred media server software, download and install it on your Windows 11 computer. Follow the installation wizard instructions, and make sure to carefully read and configure the settings according to your requirements.
Step 3: Import Media Files
After successfully installing the media server software, it’s time to import your media files for streaming. Open the media server application and locate the option to add media folders or libraries. Select the folders where your media files are stored, including movies, TV shows, music, and photos.
Step 4: Organize and Customize Settings
To ensure an optimal streaming experience, organize your media files within the media server software. Add metadata for movies and TV shows, such as cover art, synopsis, and cast information. Customize settings like transcoding options, remote access, and user permissions to enhance the media server’s functionality.
Step 5: Access Media Server on Devices
Now that your media server is set up, you can access it on various devices within your home network. Install the media server app or client on your smart TV, smartphone, tablet, or any device you want to use for streaming. Connect these devices to the same Wi-Fi network as your Windows 11 computer and sign in with the same account used for the media server software.
Enjoy streaming your media files seamlessly across multiple devices with the power of your own media server!
In conclusion, setting up a media server on Windows 11 is a straightforward process. By choosing a reliable media server software, configuring it correctly, importing your media files, organizing them, and accessing the server on your devices, you can enjoy a personalized and convenient media streaming experience anywhere in your home.
How do I add a media server to Windows 11?
If you’re looking to transform your Windows 11 computer into a media server, you’re in luck! With a media server, you can stream music, movies, and photos to other devices within your home network. Setting up a media server on Windows 11 is straightforward and doesn’t require any advanced technical knowledge. Here’s a step-by-step guide to get you started:
Step 1: Select a Media Server Software
The first thing you need to do is choose a media server software that suits your needs. There are several options available, but some popular choices include Plex, Emby, and Kodi. These platforms provide an easy way to manage your media library and stream it to different devices.
Step 2: Download and Install the Software
Once you’ve decided on a media server software, head over to their website and download the installation file. Run the installer and follow the on-screen instructions to install the software on your Windows 11 computer. Make sure to choose a location for your media library during the installation process.
Step 3: Add Media to Your Library
After installing the media server software, it’s time to add your media files to the library. This can typically be done through the software’s interface or by specifying the folders where your media is stored. The media server software will scan your files and automatically organize them into categories like movies, TV shows, music, and photos.
Step 4: Configure the Media Server
Once your media library is set up, you’ll need to configure the media server settings. This may involve specifying the streaming quality, enabling remote access, setting up user accounts, and more. Consult the documentation or help resources provided by your chosen media server software for detailed instructions on how to configure these settings.
Step 5: Connect and Stream
Now that everything is set up, you can connect to your media server from other devices on your home network. Whether it’s a smart TV, smartphone, tablet, or another computer, you’ll need to install the appropriate app or client for your media server software. Once connected, you can browse your media library and start streaming your favorite content!
“Setting up a media server on Windows 11 is straightforward and doesn’t require any advanced technical knowledge.”
With your Windows 11 computer acting as a media server, you’ll have centralized access to all your favorite entertainment. Whether you want to enjoy movies with family, stream music during parties, or showcase your photo collection, setting up a media server is a convenient way to take control of your multimedia experience.
Conclusion
Setting up a Plex server does come with some costs, but it is important to remember that these costs can vary depending on your specific needs and preferences. By understanding the hardware and storage requirements, as well as considering your internet connection, you can make an informed decision about how much a Plex server will cost for you.
Quote:
“While the initial investment of setting up a Plex server may seem daunting, the benefits of having access to your own personal media library from anywhere are well worth it.” – Media Enthusiast
Table:
| Item | Cost |
|---|---|
| Basic Computer with decent specs | $500 |
| Dedicated Server | $1000+ |
| External Hard Drive (4TB) | $150 |
| NAS Device (4-bay) | $400+ |
List:
- Consider your storage needs before deciding on a device.
- Research different hardware options to find the best fit for your budget.
- Factor in the cost of an internet connection for remote access.
- Regularly maintain and update your Plex server to ensure optimal performance.