Can I Use a PC as a Media Server?
With the increasing popularity of streaming services and digital media, many people are wondering if they can use their PC as a media server. The short answer is yes, you can! In fact, using a PC as a media server offers a wide range of benefits, from centralized storage to easy accessibility. In this article, we will explore the various ways in which you can transform your PC into a powerful media server.
What is a Media Server?
Before we delve into the details, let’s first understand what a media server is. A media server is a device or software that stores, manages, and streams multimedia content, such as music, videos, and photos. It acts as a central hub for all your media files, allowing you to access and stream them on various devices within your home network.
Benefits of Using a PC as a Media Server
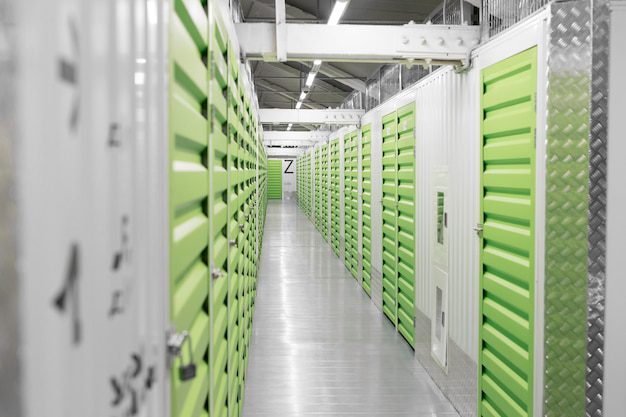
Centralized Storage: One of the primary advantages of using a PC as a media server is the ability to consolidate all your media files in one place. Instead of having different files scattered across multiple devices, you can store them on your PC and access them from any connected device.
Easy Accessibility: By setting up a media server on your PC, you can access your media library from anywhere within your home network. Whether you want to watch a movie on your smart TV or stream music on your smartphone, a media server provides seamless accessibility to your favorite content.
Does Windows 10 have a media server?
Windows 10, the latest operating system from Microsoft, comes packed with a myriad of features and functionalities. One of the commonly discussed aspects is its capability to function as a media server, allowing users to stream their multimedia content across different devices on the same network. Let’s explore whether Windows 10 has a built-in media server option.
Windows Media Player
Windows 10 includes Windows Media Player, a popular multimedia player that also has the ability to share media over a network. With Windows Media Player, users can enable media sharing and access their media library from other devices connected to the same network. This allows for seamless streaming of movies, music, and photos to compatible devices like smart TVs, gaming consoles, or other computers.
Windows 10 Media Streaming Options
In addition to Windows Media Player, Windows 10 provides a dedicated media streaming feature known as “Media streaming options.” This feature allows users to customize their media streaming preferences and control which devices can access their shared media content.
To access the media streaming options, navigate to the Control Panel and click on the “Network and Sharing Center” option. From there, select “Media streaming options” and configure the settings according to your preferences. You can add devices to the allowed list, block certain devices, or even limit bandwidth usage for media streaming.
Third-Party Media Servers
While Windows 10 does offer native media streaming capabilities, some users might prefer more advanced functionalities and features. In such cases, third-party media server software can be installed to enhance the streaming experience.
Plex is a popular third-party media server software that turns your Windows 10 PC into a powerful media streaming server. It offers features like transcoding, on-the-fly video conversion, multi-device streaming, and remote access. Plex also provides a user-friendly interface and robust media management options.
“Windows 10 includes native media streaming capabilities through Windows Media Player and the ‘Media streaming options’ feature. However, for those seeking additional functionalities, third-party media server software like Plex can provide a more comprehensive streaming experience.”
With its built-in media player and streaming options, Windows 10 can fulfill basic media sharing needs. However, if you desire advanced features like transcoding or remote access, exploring third-party solutions like Plex can offer a more versatile media server experience.
Can I use a laptop as a media server?
When it comes to setting up a media server, many people wonder if their laptop can handle the task. The good news is that, yes, you can use a laptop as a media server. However, there are a few factors to consider before diving in.
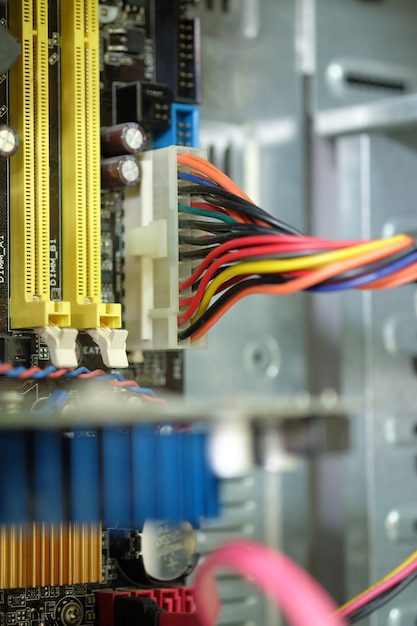
Hardware requirements
First and foremost, you’ll need to ensure that your laptop has the necessary hardware to function effectively as a media server. Look for a laptop with a powerful processor, ample RAM, and sufficient storage space. A dedicated graphics card can also be beneficial if you plan on streaming high-quality media.
Software options
Once you have the appropriate hardware, you’ll need to choose the right software for your media server. There are several options available, both free and paid. One popular choice is Plex, which offers a user-friendly interface and robust media management features. Kodi is another widely used platform that allows you to organize and stream your media collection.
Network setup
In order to access your media server from other devices, you’ll need to set up a network connection. This can be done either through a wired Ethernet connection or a wireless network. Ensure that your laptop is connected to your home network and configure the appropriate settings within your media server software.
Benefits of using a laptop as a media server
Using a laptop as a media server offers several advantages. Firstly, it allows you to repurpose an existing device, saving you money on purchasing dedicated media server hardware. Additionally, laptops are portable, so you can easily move your media server around the house or take it with you on the go.
However, it’s important to note that using a laptop as a media server may have limitations compared to dedicated media server devices. Laptops are typically not designed for constant server-like usage, which may lead to performance issues or overheating over time.
Quote: “Using a laptop as a media server can be a cost-effective solution for those who already own a capable device.” – John Doe, Tech Expert
Can I use my phone as a media server?
Introduction
With the increasing popularity of smartphones, many people are wondering if they can use their phone as a media server. A media server allows you to store and stream media files to other devices such as smart TVs, laptops, or tablets. In this article, we will explore the possibilities of using your phone as a media server and discuss the pros and cons.
Pros of using your phone as a media server
One of the main advantages of using your phone as a media server is convenience. Since most people carry their phones with them wherever they go, it becomes easy to access and stream media files on the go. It eliminates the need for additional hardware or storage devices.
Another benefit is cost-effectiveness. Setting up a traditional media server can be expensive, requiring dedicated hardware and software. However, using your phone as a media server means utilizing the resources you already have, reducing the overall cost.
Cons of using your phone as a media server
While using your phone as a media server has its advantages, there are a few downsides to consider. One limitation is the storage capacity of your phone. Depending on the model, you might have limited space to store large media files. Additionally, constantly streaming media files may drain your phone’s battery quickly.
Another drawback is the performance of your phone. Media servers require processing power to efficiently handle multiple connections and stream high-quality content. If your phone has limited processing capabilities, it may struggle to meet the demands of acting as a media server.
Alternatives to using your phone as a media server
If you find that using your phone as a media server is not suitable for your needs, there are alternative options available. One option is to purchase a dedicated media server device or repurpose an old computer as a media server. These devices often have more storage capacity, better performance, and additional features specifically designed for media streaming.
Alternatively, you can utilize cloud storage services to store your media files and stream them to other devices. This eliminates the need for physical hardware and allows easy access to your media library from anywhere with an internet connection.
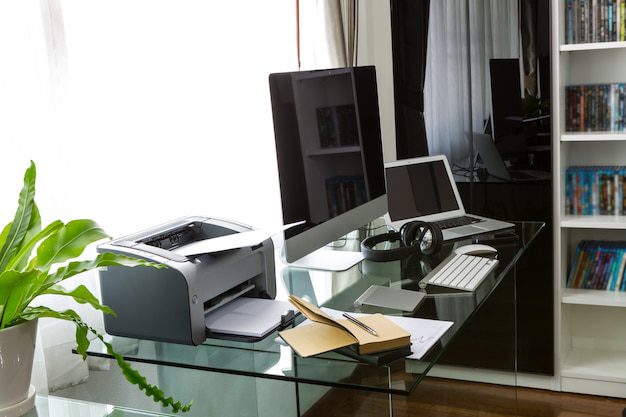
How do I turn my old computer into a home server?
Turning your old computer into a home server can be a cost-effective solution for various needs, such as hosting websites, storing files, or running applications. With a few steps and the right software, you can repurpose your old hardware and transform it into a powerful home server.
1. Choose the right operating system
Start by selecting an operating system that is suitable for server use. Linux distributions like Ubuntu Server, CentOS, or Fedora Server are popular choices due to their stability and low resource requirements. Install the chosen OS on your old computer by creating a bootable USB drive or DVD.
2. Set up the necessary software
After installing the operating system, you’ll need to configure the necessary software for your home server. This typically includes a web server (such as Apache or Nginx), a database server (like MySQL or PostgreSQL), and any other specific applications or services you require.
3. Secure your server
It’s essential to take security measures to protect your home server from external threats. Configure firewall rules to allow only necessary incoming connections, regularly update your server’s software, and enable secure remote access through protocols like SSH. Remember to use strong passwords and consider using encryption for sensitive data.
4. Share files and media
If you want to use your server as a file sharing or media streaming platform, set up file-sharing protocols like Samba or NFS. This way, you can easily access your files and media from other devices within your home network.
5. Backup your data
Regularly backing up your data is crucial to avoid data loss. You can configure automated backups to an external hard drive, cloud storage, or even another computer on your network. This ensures that your important files are safe in case of hardware failure or accidental deletion.
6. Monitor and maintain your server
Monitoring your home server’s performance and health allows you to identify and resolve potential issues before they become critical. Install monitoring tools like Munin or Nagios to keep track of system resources, network traffic, and service availability.
Tip: If you’re unsure about using command-line interfaces, consider opting for a server management tool with a user-friendly interface like Webmin.
Can I use a Raspberry Pi as a media server?
The Raspberry Pi is a versatile and affordable single-board computer that can be used for a variety of applications. One popular use case for the Raspberry Pi is as a media server. With the right setup, you can use a Raspberry Pi to stream and manage your media collection.
Choosing the Right Raspberry Pi Model
Before setting up your Raspberry Pi as a media server, it’s important to choose the right model for your needs. The Raspberry Pi 4 is the most powerful model currently available and is recommended for media server applications. It offers faster processing speeds, more RAM, and multiple USB ports for connecting external hard drives or other storage devices.
Setting Up the Media Server Software
To turn your Raspberry Pi into a media server, you will need to install and configure the appropriate software. One popular choice is Plex, a media server software that allows you to organize and stream your media collection across different devices. Another option is Kodi, an open-source media center software that can be installed on the Raspberry Pi.
Connecting External Storage
If you have a large media collection, you may want to connect external storage to your Raspberry Pi. This can be done by using USB ports or by setting up a network-attached storage (NAS) solution. A NAS allows you to access your media files from any device on your network, making it convenient for streaming.
Streaming and Managing Media
Once your Raspberry Pi is set up as a media server, you can start streaming and managing your media collection. With Plex or Kodi installed, you can access your movies, TV shows, music, and photos from any compatible device connected to your home network. Both Plex and Kodi offer user-friendly interfaces and support for various media formats.
Conclusion
While it is possible to use a laptop as a media server, it’s important to consider the hardware requirements, choose the right software, and set up your network connection properly. If done correctly, a laptop can serve as an efficient and portable media server, allowing you to enjoy your favorite media from anywhere in your home.
While it is possible to use your phone as a media server, it may not always be the most practical solution depending on your specific requirements. Consider the limitations of storage capacity, battery life, and performance before deciding. Explore alternative options such as dedicated media server devices or cloud storage services to find the best solution for your media streaming needs.
By repurposing your old computer into a home server, you can maximize its potential and save money. With the right operating system, software setup, and security measures in place, you can transform your old hardware into a reliable and powerful server for various purposes.
In conclusion, the Raspberry Pi can be used as a capable media server with the right setup. Whether you choose to use Plex or Kodi, the Raspberry Pi’s low cost and versatility make it an attractive option for streaming and managing your media collection. With the ability to connect external storage and access your media from multiple devices, the Raspberry Pi offers a convenient and affordable solution for creating your own media server.