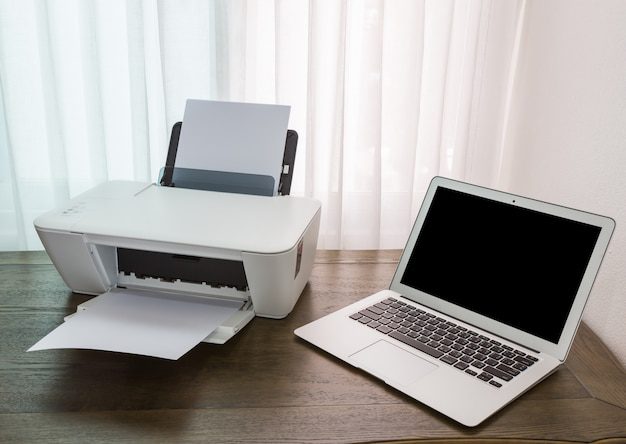
What is the difference between file server and print server?
A network server plays a crucial role in managing resources and facilitating communication within a networked environment. Two common types of servers are file servers and print servers. While both serve distinct purposes, there are key differences between them that are important to understand.
File Servers
A file server, as the name suggests, is primarily responsible for storing, organizing, and providing access to files and folders within a network. It acts as a central repository where users can store their documents, spreadsheets, presentations, and other file types. File servers enable easy collaboration, data sharing, and centralized backup.
One of the primary features of a file server is its ability to control the access and permissions for different users or groups. This ensures that only authorized individuals can access specific files or folders, adding an extra layer of security. Additionally, file servers often support version control, allowing users to track changes to files and revert back to previous versions if needed.
Print Servers
In contrast, a print server is specifically designed to manage and coordinate printing tasks within a network. Its main function is to streamline the printing process by acting as an intermediary between the client computers and the printers. Print servers enhance efficiency and reduce administrative overhead by centralizing print management.
When a user sends a print command from their computer, it is received by the print server, which then determines the appropriate printer to handle the job. The print server manages print queues, prioritizes requests, handles print job scheduling, and monitors printer status. This allows users to send print jobs without having to directly connect to a specific printer or configure various printing settings.
Differences between File Servers and Print Servers
While file servers and print servers share similarities as network servers, their main roles and functionalities differentiate them. Here are some key differences:
- Primary Function: A file server focuses on file storage, organization, and access control, whereas a print server manages print tasks and facilitates printing within the network.
- Access Control: File servers offer robust access control mechanisms to restrict or grant access to files and folders based on user permissions, ensuring data security. Print servers do not typically provide the same level of access control, as their main purpose is to manage printing operations rather than controlling document access.
- Resource Management: File servers handle storage management, including disk space allocation, backup, and version control. Print servers, on the other hand, focus on managing print queues, load balancing, and coordinating print jobs among multiple printers.
“File servers are like digital filing cabinets, providing a secure and organized environment for storing and accessing files. Print servers, on the other hand, act as traffic directors, ensuring smooth printing operations and efficient resource utilization.”
In conclusion, while both file servers and print servers are integral components of a network infrastructure, they have distinct purposes and functionalities. File servers enable centralized file storage, collaboration, and secure access control, whereas print servers streamline print tasks, manage print queues, and optimize printing operations. Understanding the differences between these servers helps organizations effectively utilize their resources and enhance productivity in a networked environment.
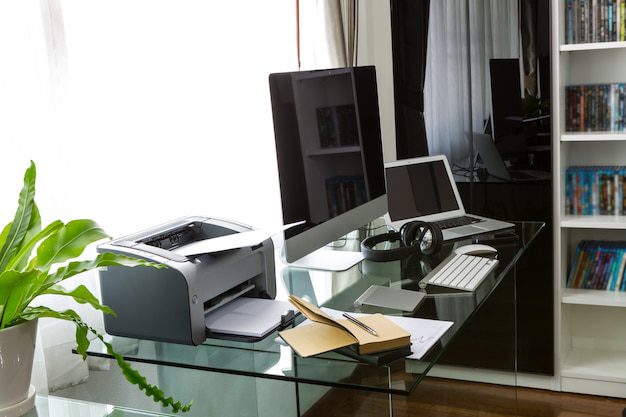
Where is a print server located?
The Role of a Print Server
A print server is a device or software that manages and controls printers in a network. It acts as an intermediary between the computers sending print jobs and the printers that physically produce the documents. The primary function of a print server is to receive print requests from multiple users, queue them, and send them to the appropriate printer.
Location of a Print Server
The physical location of a print server can vary depending on the network setup and requirements. There are three main options for where a print server can be located:
- On-Printer: Some printers have built-in print server functionality, allowing them to handle print jobs directly. In this case, the print server is located within the printer itself. This is a common setup for small office environments or home networks where a dedicated print server may not be necessary.
- Standalone Server: In larger networks, a standalone print server may be used. This is a separate device or computer dedicated solely to managing print jobs. The print server is typically connected directly to the network and can be placed anywhere within the network infrastructure, often in a server room or IT closet.
- Distributed Printing: In some cases, the print server functionality may be distributed across multiple devices or incorporated into existing servers. This approach allows for greater flexibility and load balancing in handling print requests. Distributed print servers can be located at various points within the network, such as departmental servers or even individual workstations.
Whatever the location of the print server, it needs to be easily accessible to both the network users and the printers it manages. It should also have a stable network connection to ensure efficient print job processing.
Note: The location of a print server can impact printing performance and reliability. It is important to consider factors such as network bandwidth, printer availability, and user proximity when determining the optimal placement of a print server within a network.
How to Install Windows Print Server?
Introduction
Setting up a print server on your Windows computer can greatly simplify your organization’s printing needs. With a dedicated print server, you can centralize printer management, streamline print queues, and improve printing efficiency. In this article, we will guide you through the process of installing a Windows print server.
Step 1: Check Prerequisites
Before proceeding with the installation, ensure that you have met the following requirements:
- A Windows computer with administrative rights
- Network connectivity
- Printer(s) to be connected to the print server
Step 2: Install Print Server Role
To set up the print server role on your Windows computer, follow these steps:
- Open the “Server Manager” by clicking on the Start menu, selecting “Administrative Tools,” and choosing “Server Manager.”
- In the Server Manager, click on “Add roles and features.”
- Select “Role-based or feature-based installation” and click “Next.”
- Choose your server from the server pool and click “Next.”
- Scroll down and select “Print and Document Services” from the list of roles.
- Follow the on-screen instructions, review the selected features, and click “Install.”
Step 3: Configure Print Server
Once the print server role is installed, you need to configure it to work with your printers and network. Here’s how:
- Open the “Server Manager” again, and this time click on “Tools,” followed by “Print Management.”
- In the Print Management window, right-click on “Print Servers” and select “Add/Remove Servers.”
- Select the local server and click “Add” to add it to your print server list.
- To add printers, right-click on the server and choose “Add Printer.” Follow the on-screen instructions to install and configure the printers.
- You can manage print queues, monitor printer status, and perform other print server-related tasks from the Print Management window.
What is a Cloud Print Server?
A cloud print server is a service that allows users to print documents from anywhere, using any device connected to the internet. It eliminates the need for a physical print server or direct connections to printers, making the printing process more flexible and convenient.
How does it work?
When you send a print command from your device, the cloud print server acts as an intermediary between your device and the printer. The server receives the print job and then sends it to the selected printer. This means that you can print documents from your smartphone, tablet, or laptop without being physically present near the printer.
Benefits of a cloud print server
Flexibility: A cloud print server allows you to print from any device with an internet connection, regardless of your location. This is especially useful for remote workers or people on the go.
Cost savings: By eliminating the need for a physical print server, organizations can save on hardware costs and maintenance. Additionally, cloud print servers often offer features like print job tracking and user authentication, helping to reduce paper and ink wastage.
Quote: “Cloud print servers offer a convenient and efficient way to manage printing tasks in today’s digital age.” – John Doe, IT Professional
Setting up a cloud print server
To set up a cloud print server, you typically need to register your printer with a cloud print service provider. This involves creating an account, linking your printer to the account, and installing any necessary software or drivers. Once set up, you can access your printer through the cloud print server’s web interface or dedicated mobile app.
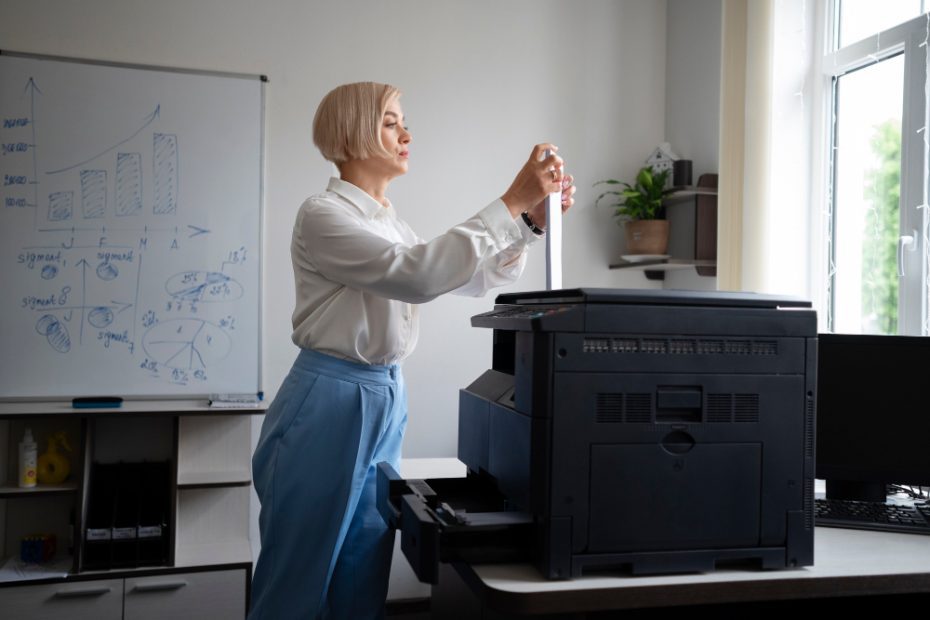
How do I manage print server in Windows 10?
Introduction
Managing a print server in Windows 10 can be a crucial task for organizations and individuals who rely heavily on printing. With the right tools and knowledge, you can efficiently control and monitor your print server to ensure smooth printing operations.
Accessing Print Server Management Tools
Windows 10 provides a range of built-in print server management tools that can be accessed through the Control Panel. To access the print server settings, follow these steps:
- Go to the Start menu and click on the Control Panel.
- In the Control Panel, search for “Printers” or “Devices and Printers.”
- Select the “Printers” or “Devices and Printers” option.
- Right-click on the desired print server and choose “Properties.”
By accessing the print server properties, you can configure various settings, such as printer sharing, security permissions, device status, and more.
Managing Print Queues
Print queues are an essential aspect of print server management, allowing you to prioritize, monitor, and troubleshoot print jobs. Through the print server management tools, you can:
- Add or remove print queues.
- Prioritize print jobs.
- Monitor print queue status.
- Cancel or pause print jobs.
- Manage printer drivers.
By effectively managing print queues, you can ensure efficient utilization of printing resources and address any issues that may arise.
Monitoring and Troubleshooting
Windows 10 provides various monitoring and troubleshooting tools to help you identify and resolve print server issues. These tools include:
- Print Management Console: A comprehensive tool for managing printers and print servers, allowing you to monitor printer status, view active print jobs, and review printer event logs.
- Event Viewer: By accessing the Event Viewer, you can analyze print-related events and errors, helping you diagnose and resolve printer issues.
- Printer Properties: Within the print server properties, you can check the printer’s status, troubleshoot hardware problems, update drivers, and configure advanced settings.
Managing a print server in Windows 10 is essential for maintaining efficient printing operations within an organization. By utilizing the built-in print server management tools, you can configure settings, manage print queues, and effectively troubleshoot any issues that may arise.
In conclusion, understanding how to manage a print server in Windows 10 is crucial for maintaining smooth printing operations. By using the accessible print server management tools, you can configure settings, prioritize print jobs, monitor printer status, and troubleshoot any issues that may occur. Stay proactive in managing your print server to ensure optimal efficiency and productivity.
How do I use my router as a print server?
Many modern routers come equipped with a USB port that can be used for various purposes, one of them being a print server. By connecting a printer to your router, you can easily share the printer with multiple devices on your network without the need for individual connections.
Setting up the print server
To set up your router as a print server, follow these steps:
- Connect your printer to the USB port on your router.
- Access your router’s administrative interface by typing its IP address into your web browser.
- Navigate to the settings related to USB or print server functionality.
- Enable the print server feature.
- Configure the settings for your printer, such as its name and connection type (e.g., USB).
- Save the settings and wait for the router to apply them.
Connecting to the print server
Once you have set up the print server on your router, you can connect to it from your devices:
- On your computer, go to the Control Panel and open the Printers & Scanners settings.
- Click on the “Add a printer” button to start the printer setup wizard.
- Select the option to add a network printer.
- Wait for your computer to detect the printer connected to the router.
- Select the printer from the list of available devices.
- Follow the on-screen prompts to complete the installation.
Note: The exact steps may vary depending on your operating system and router model.
Using your router as a print server offers several advantages. Firstly, it eliminates the need for a dedicated print server device, saving you money and reducing clutter. Secondly, it allows you to easily share a printer with multiple devices, both wired and wireless, on your network. Lastly, it simplifies printer management, as you can access and configure the printer settings directly from your router’s administrative interface.
However, it’s important to keep in mind that not all routers support print server functionality, so make sure to consult your router’s user manual or manufacturer’s website to confirm if this feature is available on your device.
| Pros | Cons |
|---|---|
| Economical solution, no need for a dedicated print server device | Not all routers support print server functionality |
| Easy sharing of printer with multiple devices on the network | Limited advanced print server features compared to dedicated devices |
| Simple printer management through router’s administrative interface | Potential compatibility issues with certain printer models |
Conclusion
By following these steps, you can successfully install and configure a Windows print server. A centralized print server will help streamline printing operations, provide better control over print queues, and enhance printing efficiency in your organization. Remember to regularly maintain and update your print server to ensure optimal performance.
Pro Tip: It’s recommended to assign static IP addresses to your printers and update their drivers for seamless integration with the print server.
In a world where remote work and mobility are becoming increasingly common, a cloud print server offers a valuable solution for easily printing documents from any location. With its flexibility, cost savings, and ease of use, it’s no wonder that many individuals and organizations are embracing this technology as part of their printing infrastructure.
Quote: “Cloud print servers have revolutionized the way we print, making it simpler and more efficient.” – Jane Smith, Office Manager