How to Successfully Reset Your Motherboard BIOS
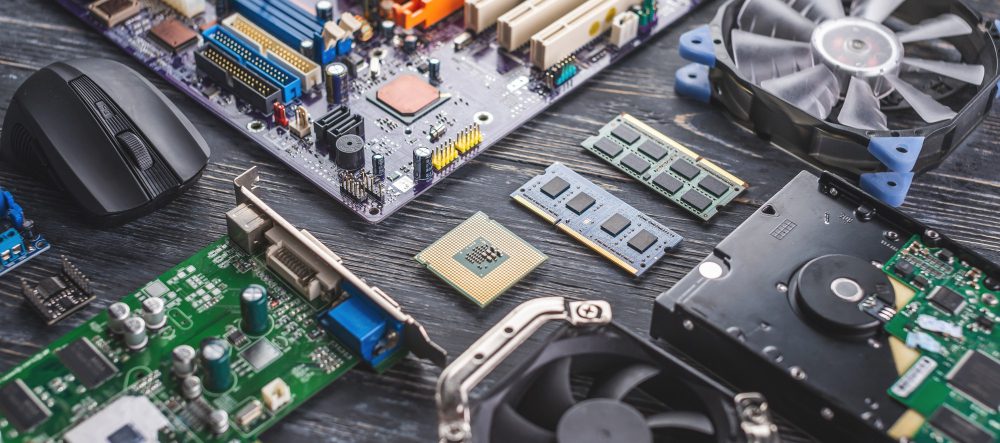
Motherboards are the backbone of any computer system, and they play a crucial role in regulating different hardware components of the computer. They are responsible for managing the communication between the different hardware components, including the processor, memory, and storage devices. Among the critical features of motherboards is the BIOS (Basic Input/Output System), which is responsible for controlling the communication between the hardware and software components of the computer. Resetting the motherboard BIOS can often resolve many hardware issues, such as overheating, boot failure, and hardware malfunction. Here is a guide on how to successfully reset your motherboard BIOS.
Understanding Motherboard BIOS
Before we delve into how to reset your motherboard BIOS, it is essential to understand what BIOS is and why it is important. BIOS is a firmware program that is embedded in the motherboard, and it acts as the bridge between the operating system and hardware components of the computer. BIOS is responsible for initializing the hardware components during the boot process, and it controls the interaction between the operating system and the hardware components.
Reasons for Resetting Motherboard BIOS
Several reasons may prompt you to reset your motherboard BIOS. One of the most common reasons is when the settings in the BIOS are causing hardware issues. These issues may include overheating, boot failure, system instability, and blue screen errors. Another reason may be when you want to update your BIOS firmware, which requires resetting the current BIOS settings.
Steps to Reset Motherboard BIOS
Resetting your motherboard BIOS is a straightforward process, and it can be done in a few simple steps. Here is a step-by-step guide on how to do it.
Step 1: Shut Down Your Computer
Make sure your computer is completely shut down before you begin. Unplug the power cable and press the power button to discharge any remaining current in the capacitors.
Step 2: Open Your Computer Case
Locate the screws that hold the side panel of your computer case and unscrew them. Remove the side panel to expose the motherboard.
Step 3: Locate the CMOS Battery
Locate the CMOS battery on your motherboard. It is a small silver button cell that is usually located near the chipset or processor. Remove the battery gently by pushing the small clip that holds it in place.
Step 4: Wait for a Few Seconds
Wait for about 10-15 seconds before reinstalling the battery. This will ensure that all residual charge is discharged from the capacitors on the motherboard.
Step 5: Reinstall the CMOS Battery
Install the CMOS battery back into its slot and ensure that it is correctly seated. Push the clip back to hold it in place.
Step 6: Close Your Computer Case
Replace the side panel of your computer case and tighten the screws to secure it in place.
Step 7: Power Up Your Computer
Plug in the power cable and turn on your computer. The BIOS settings will be reset to their default settings, and the computer will boot normally.
Conclusion
Resetting your motherboard BIOS is a simple process that can help resolve many hardware issues. Before attempting to reset the BIOS, ensure that you have a good reason for doing so. It is also essential to follow the steps correctly to avoid damaging your hardware components. If you are not experienced with computer hardware, it is advisable to seek help from a professional to avoid any damage to your computer.


