How Motherboard is Made?
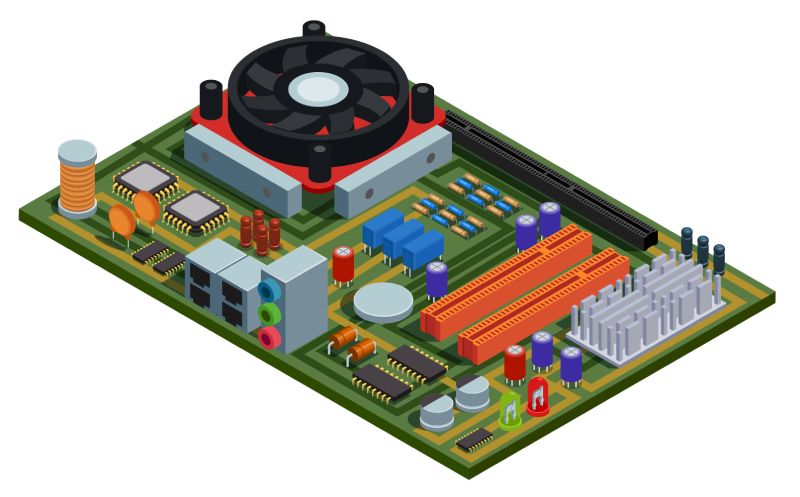
A motherboard is the central component of a computer, responsible for connecting and managing all of the other components, such as the CPU, memory, storage, and peripherals. The process of manufacturing a motherboard is complex, involving multiple steps and a combination of automated machinery and skilled workers. In this article, we will take a closer look at the manufacturing process, from design to assembly and testing.
Design and Development
The first step in creating a motherboard is the design and development stage. Engineers and designers work together to create a detailed schematic of the motherboard, which includes the layout of components, interconnections, and specifications for each part. This process often involves the use of Computer-Aided Design (CAD) software to ensure accuracy and efficiency. Once the design is complete, a prototype is made for testing and evaluation.
Creating the Printed Circuit Board (PCB)
The backbone of a motherboard is the Printed Circuit Board (PCB), which provides the physical structure and electrical connections for all of the components. The process of creating a PCB involves several steps:
- Substrate Preparation: The base material, usually a fiberglass composite called FR-4, is prepared to the desired size and thickness.
- Copper Layer Application: Thin layers of copper are applied to both sides of the substrate, typically through an electroplating process.
- Photolithography: The motherboard’s circuit pattern is transferred onto the copper layers using a light-sensitive chemical called photoresist and ultraviolet (UV) light exposure.
- Etching: The unwanted copper is removed using a chemical etching process, leaving only the desired circuit pattern behind.
- Drilling: Holes for component mounting and electrical connections are drilled into the PCB.
- Plating: The drilled holes are plated with copper to create electrical connections between layers and to provide a surface for soldering components.
Assembling the Motherboard
With the PCB ready, the next step is to assemble the motherboard by attaching the various components, such as the CPU socket, memory slots, power connectors, and expansion slots. This process involves both automated machinery and skilled technicians, who work together to ensure precision and quality. Key steps in the assembly process include:
- Automated Component Placement: Surface-mount technology (SMT) machines are used to accurately place small components, such as capacitors, resistors, and integrated circuits, onto the PCB.
- Soldering: The components are securely attached to the PCB through a soldering process, typically using a reflow oven that heats the solder to create a strong bond.
- Manual Component Installation: Larger components, such as the CPU socket and expansion slots, are installed by skilled technicians using specialized tools and techniques.
- Quality Control: Throughout the assembly process, quality control checks are conducted to ensure the accuracy of component placement and the integrity of solder joints.
Testing and Inspection
Before a motherboard is ready for use, it must undergo thorough testing and inspection to ensure it meets quality standards and functions correctly. Some common testing procedures include:
- Visual Inspection: Technicians visually inspect the motherboard for any defects, such as misaligned components or solder bridges.
- Automated Optical Inspection (AOI): Specialized machines equipped with high-resolution cameras and image processing software are used to inspect the motherboard for any defects that may not be visible to the naked eye.
- X-ray Inspection: X-ray machines are employed to check for hidden defects, such as poor solder connections or internal component issues.
- Functional Testing: The motherboard is powered on and tested for proper functionality, ensuring that all components are working as intended and that the system can boot up successfully.
- Stress Testing: The motherboard is subjected to various stress tests, which simulate real-world usage scenarios and assess the stability and performance of the system under heavy load.
Packaging and Shipping
Once the motherboard has passed all testing and inspection procedures, it is ready to be packaged and shipped. The packaging process typically involves:
- Cleaning: The motherboard is cleaned to remove any dust, debris, or residue from the manufacturing process.
- Anti-static Protection: The motherboard is placed in an anti-static bag to protect it from potential electrostatic discharge (ESD) damage during handling and transportation.
- Accessory Packaging: Accessories, such as the user manual, driver CD, and cables, are packaged alongside the motherboard.
- Final Packaging: The motherboard and accessories are placed in a protective box, ready for shipping to distributors, retailers, or end-users.
Conclusion
The process of manufacturing a motherboard is intricate and requires a combination of advanced machinery, skilled technicians, and rigorous quality control measures. From the initial design and development stage to the creation of the PCB, assembly of components, and extensive testing and inspection, each step is crucial in ensuring the final product meets performance and reliability standards. As technology continues to evolve, the process of manufacturing motherboards will undoubtedly become even more sophisticated, driving innovation and enabling the development of increasingly powerful and efficient computer systems.